Best way to Move Photos between Hard Drives
Using Chronosync to Safely Copy Files
Chronosync is one of those programs that every photographer should own. Its usefulness goes far beyond just backup. It has a built in verify option, that will accurately test each file copied over from one drive to another and compare them and verify them. You don’t have to do anything. Most photographers think that just copying files via the Finder is enough. But when you have copied 1000+ images from one hard drive to another, how do you know those copies are 100% accurate? You can check how many files there are, simply compare numbers, but without opening up every single file you won’t know for sure that each copy is accurate. Some people even use software to compare the file size, but this can be fooled and so isn’t always going to give you an accurate check. Verify in Chronosync does. In the many years that I’ve used it, I’ve never seen it give a false error.
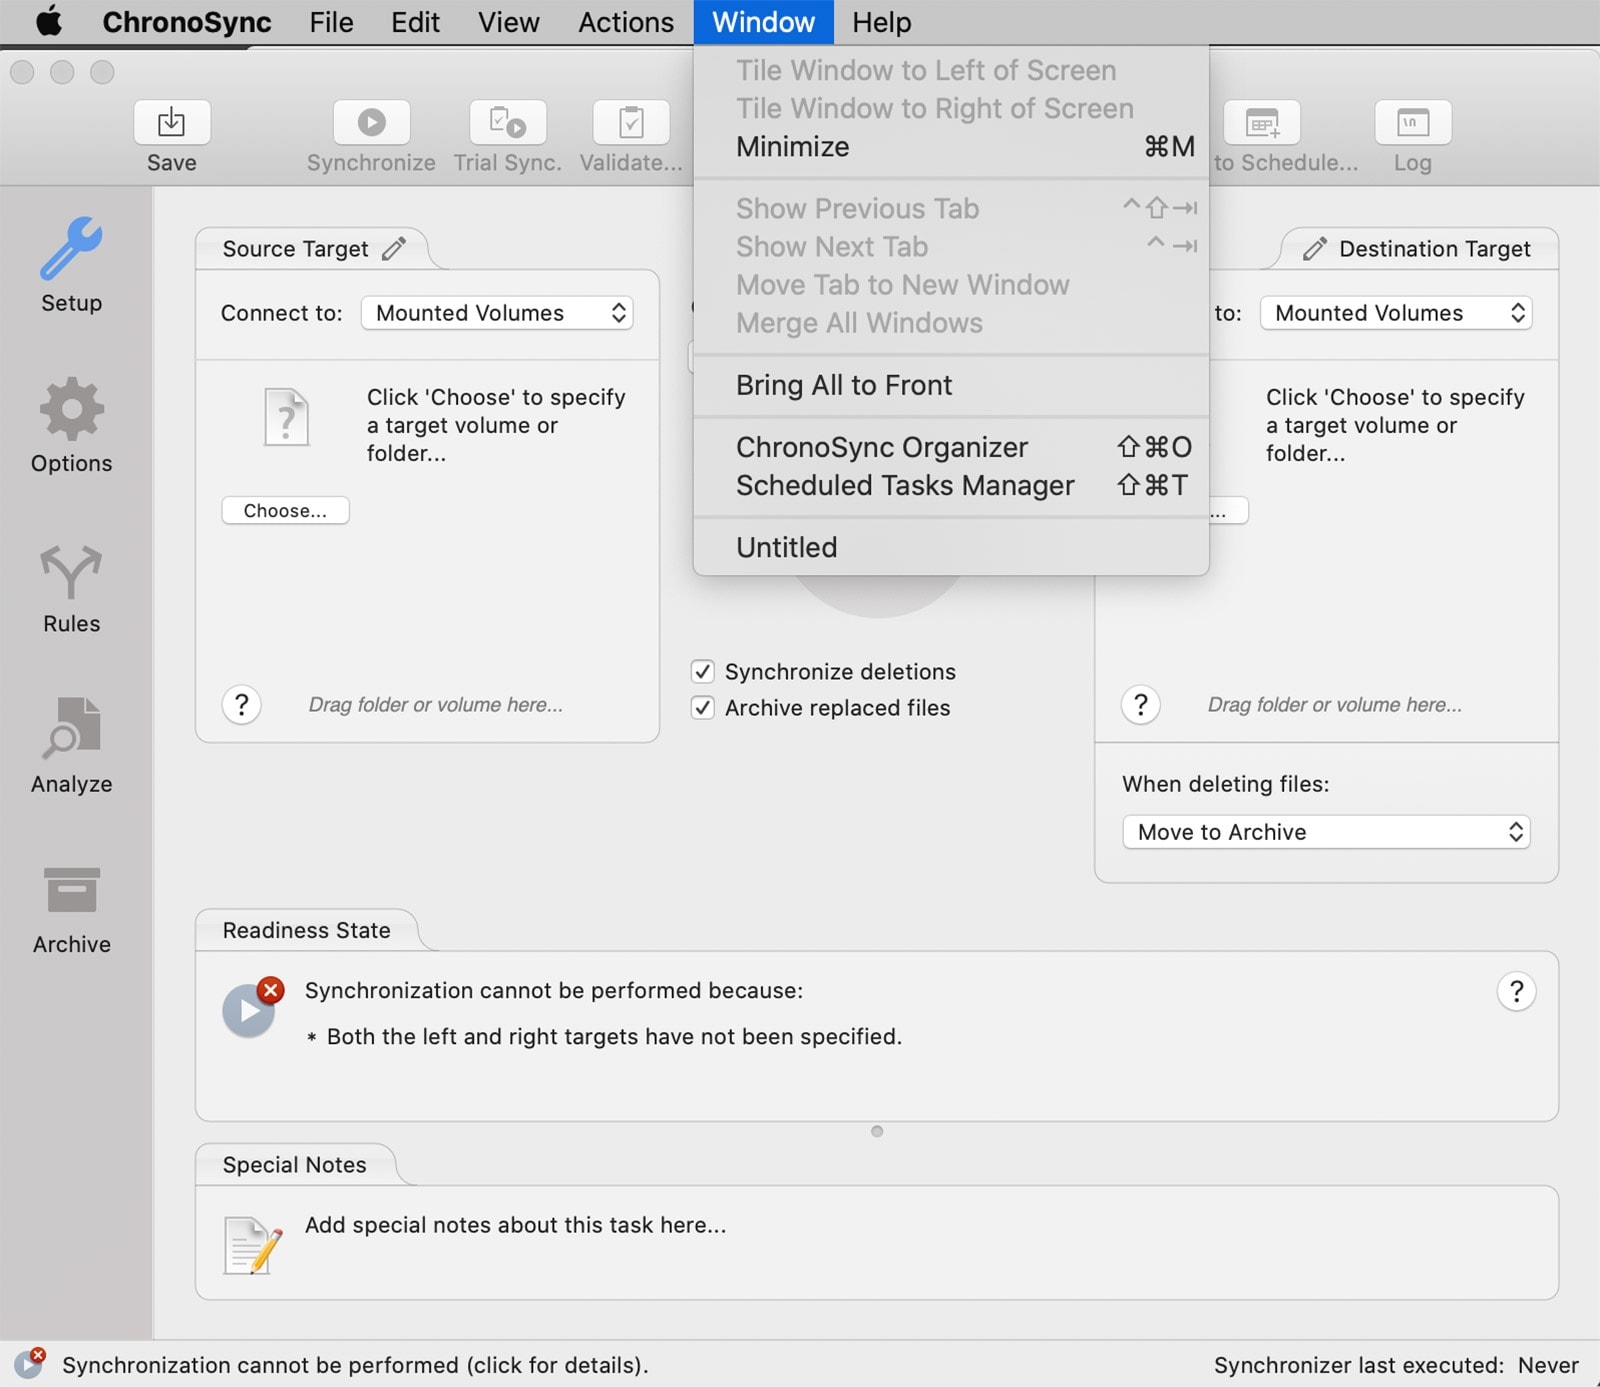
This is the first window you see in Chronosync – the New Synchronizer Window. It’s where all copying starts.

First thing to do is to click the Options Icon on the left hand side. This will bring up the following screen. These are the settings I always use. Make sure you tick Verified Copied Data!
Then choose File/Save as Default – to set this as your default, so that you don’t have to remember to go back into options every time you use the program.

Copy One Folder of Photos to Another Drive
This is something that I am doing all the time. Every time I shoot a wedding (or any photo job), I want to immediately start making backups of those images. You can NEVER have too many backup copies of an image – but the day you have too few, is the day you’ll regret not spending more time and money on improving your backup and workflow. Read my full guide to backup for more information on a bomb proof solution for working photographers.
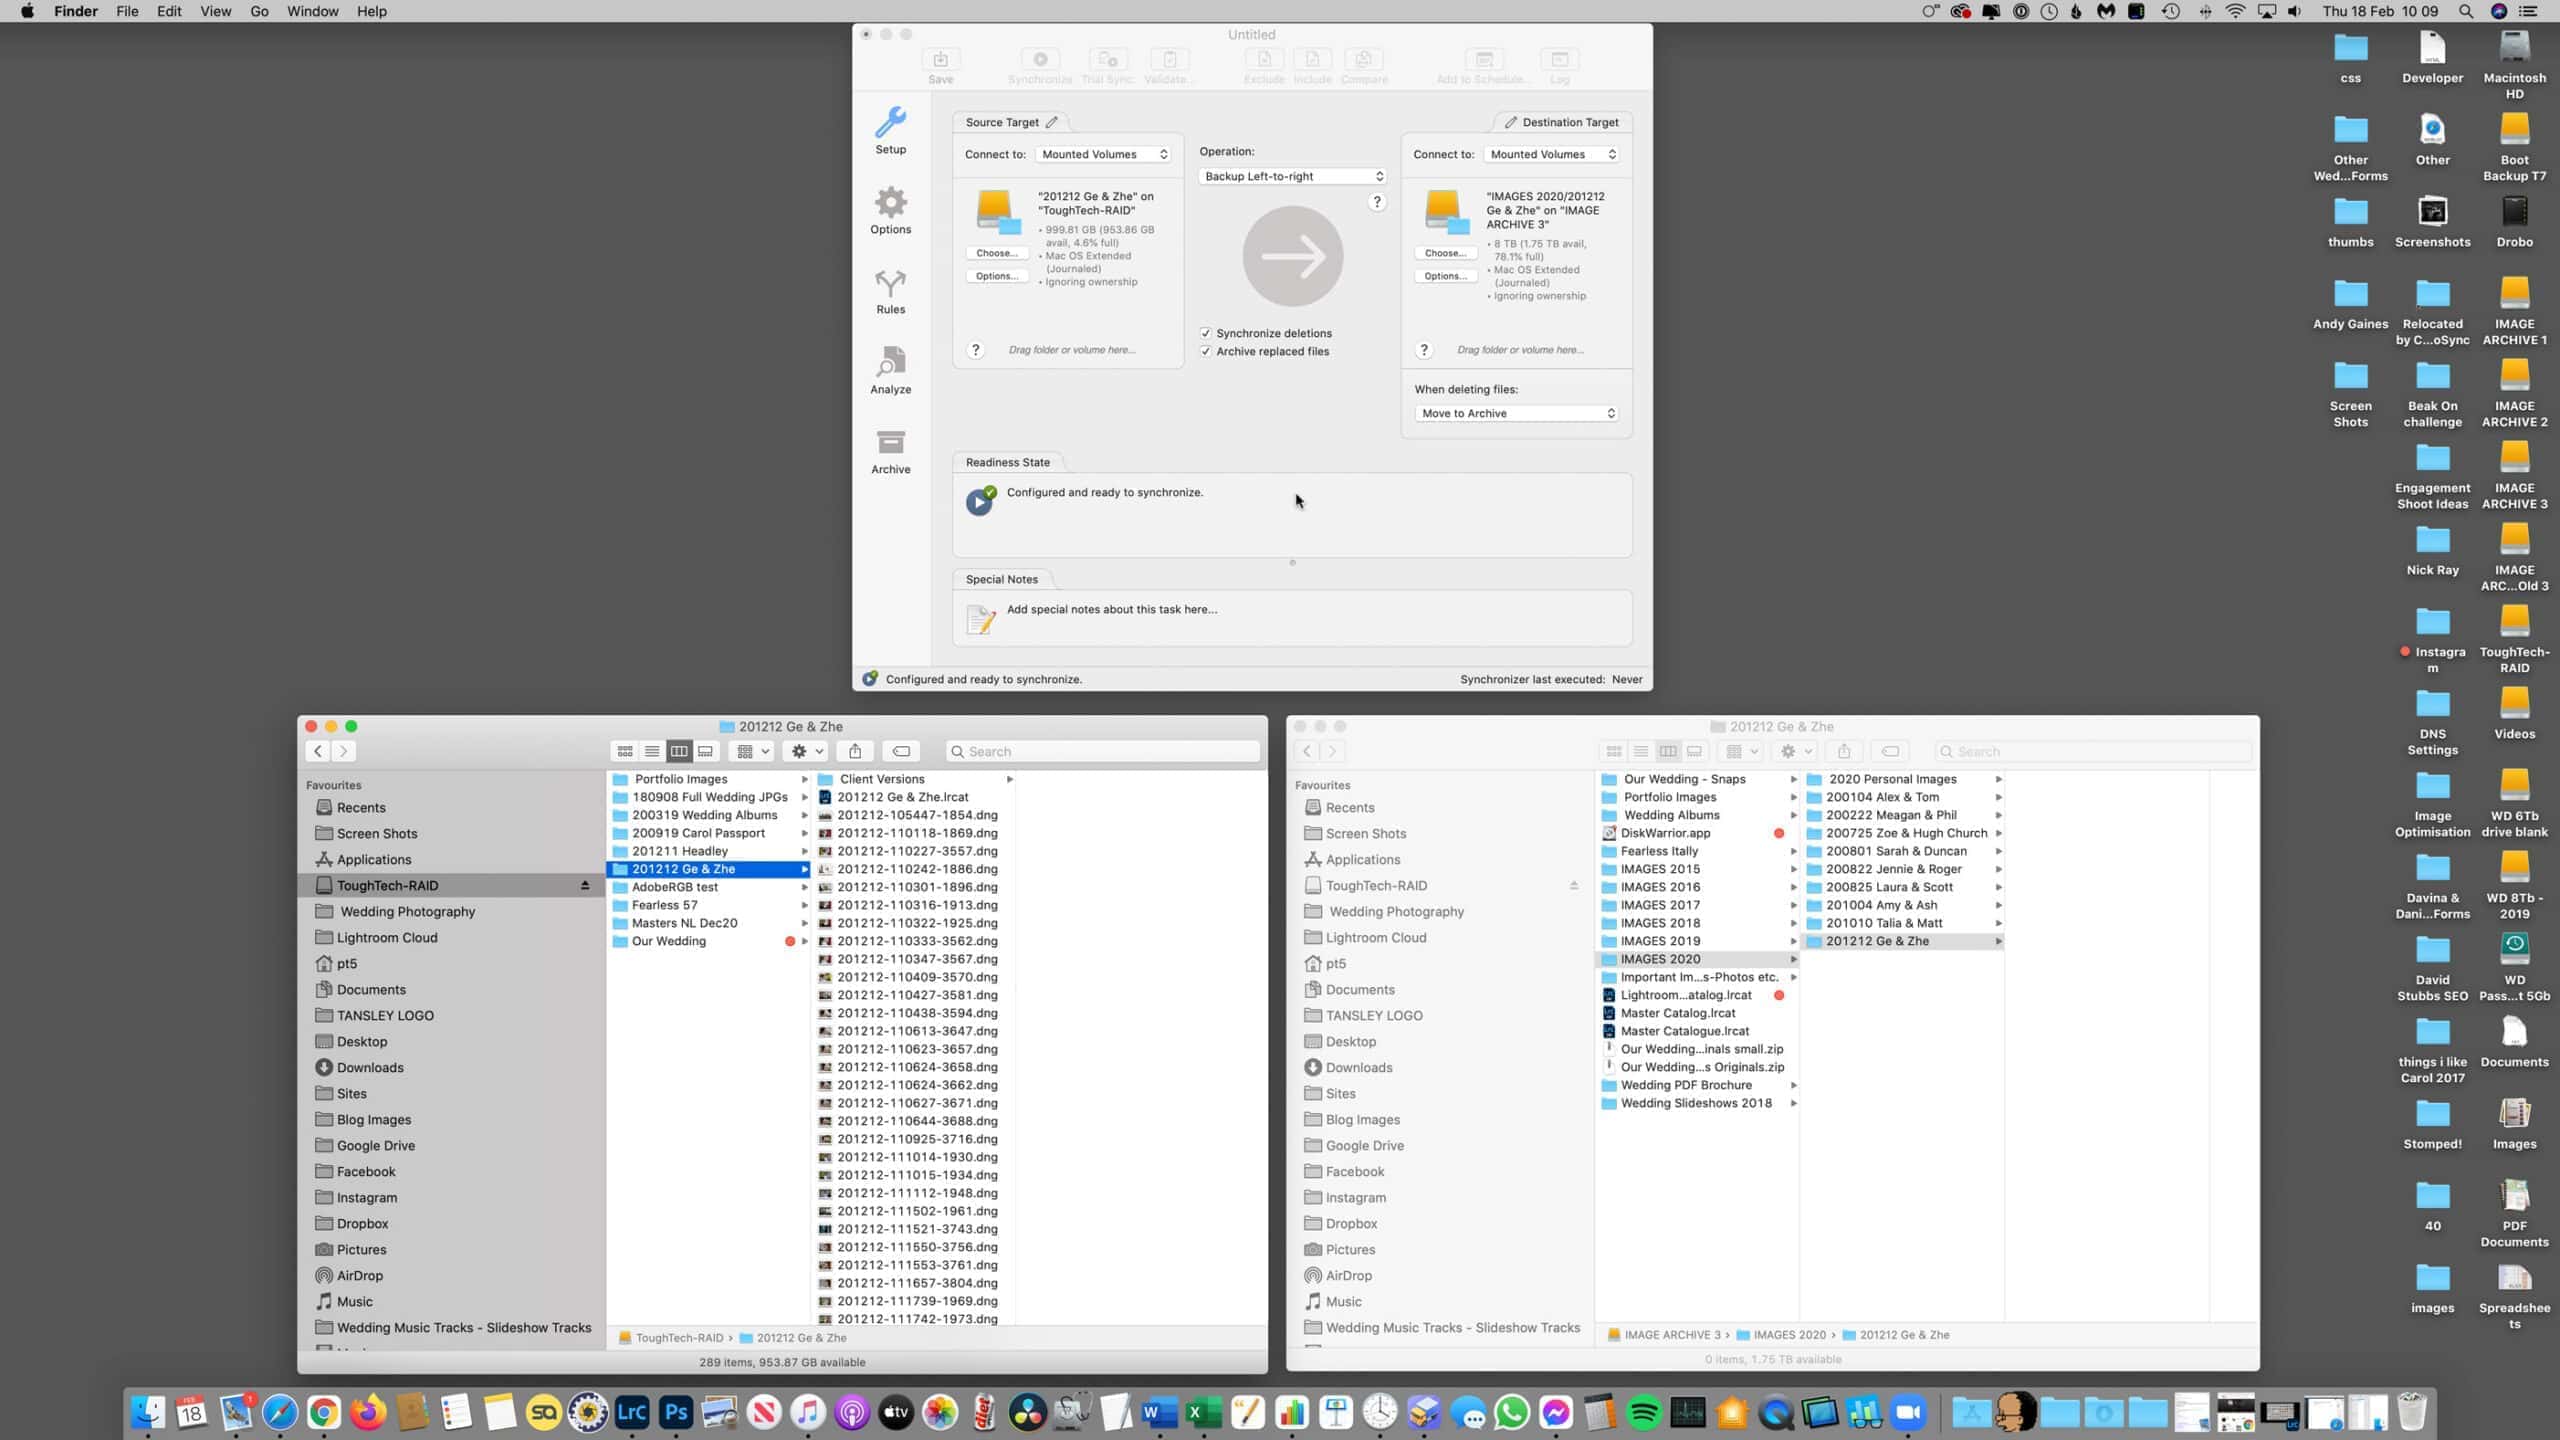
Open up a new Synchroniser window. Then open two finder windows, one for the original hard drive/folder. The second window is the destination drive. So here, I’m copying “201212 Ge & Zhe” to a new folder on my Image Archive 3 drive. New Folder = Cmd + N in Finder. Then simply copy and paste the name of the original folder into the new folder name.
Now simply drag the folder on the left – the original – to the left hand box on the Chronosync window – Source Target. Then drag your new folder, the one of the right to the right hand box market Target Destination.
As we know the target folder is empty – we can use the base setting to simply “Backup Left to Right”. Hit Synchronize – and away it goes.

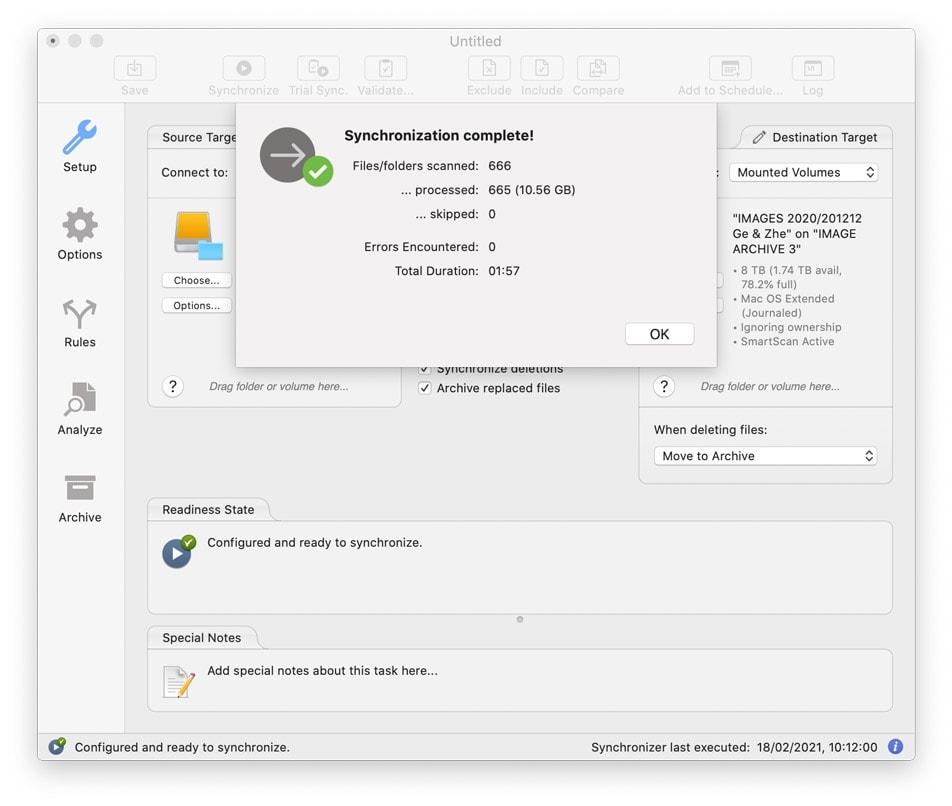
If you have fast drives, you will see it flying through the images in the Chronosync window. You will also see the files appearing in the right hand Finder window. Nothing to do now, but sit back and wait. You can leave it happily running in the background. You can also happily do another copy task using a new Chronosync Sync window. I’ve had ten windows going at once sometimes. The only thing to be aware of here is the later one’s will run slower, until the first one finishes. So while it’s handy to do a few at the same time – if you need to – it will run slower on all of them, as the hard drives can only work at their maximum speed.
Once the job is done, you should see the window below. The main thing to note in that window is the green tick (saying it all went well) with ZERO skipped files and ZERO errors encountered.
On the off chance that there are errors – Chronosync will tell you about these during the process and will bonk your Mac speaker to alert you. It will give you the option to skip the error or abort the copy. It’s perfectly safe to hit Skip. As I will explain below.
Subsequent Copying
Lets say I had an error and it alerted me, but I then chose to skip that error and let the rest of the files copy. Or, let’s say the copy finished and said it was all ok – but I just want to be 100% sure it’s not lying to me.
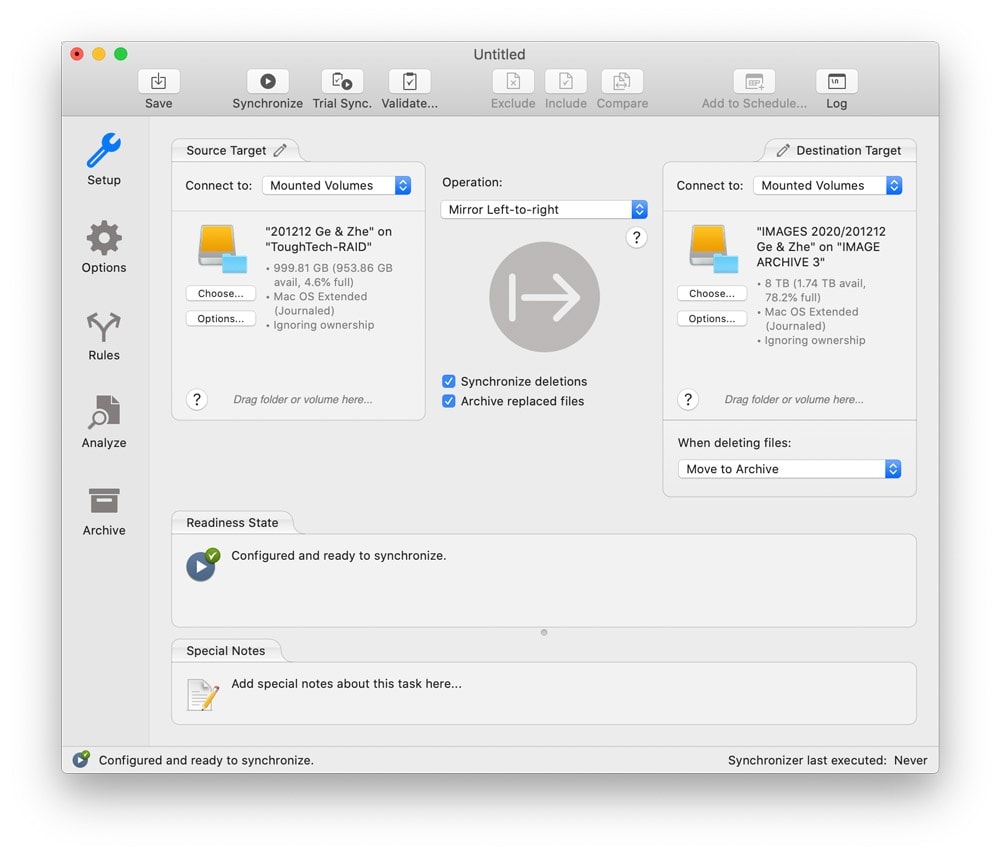
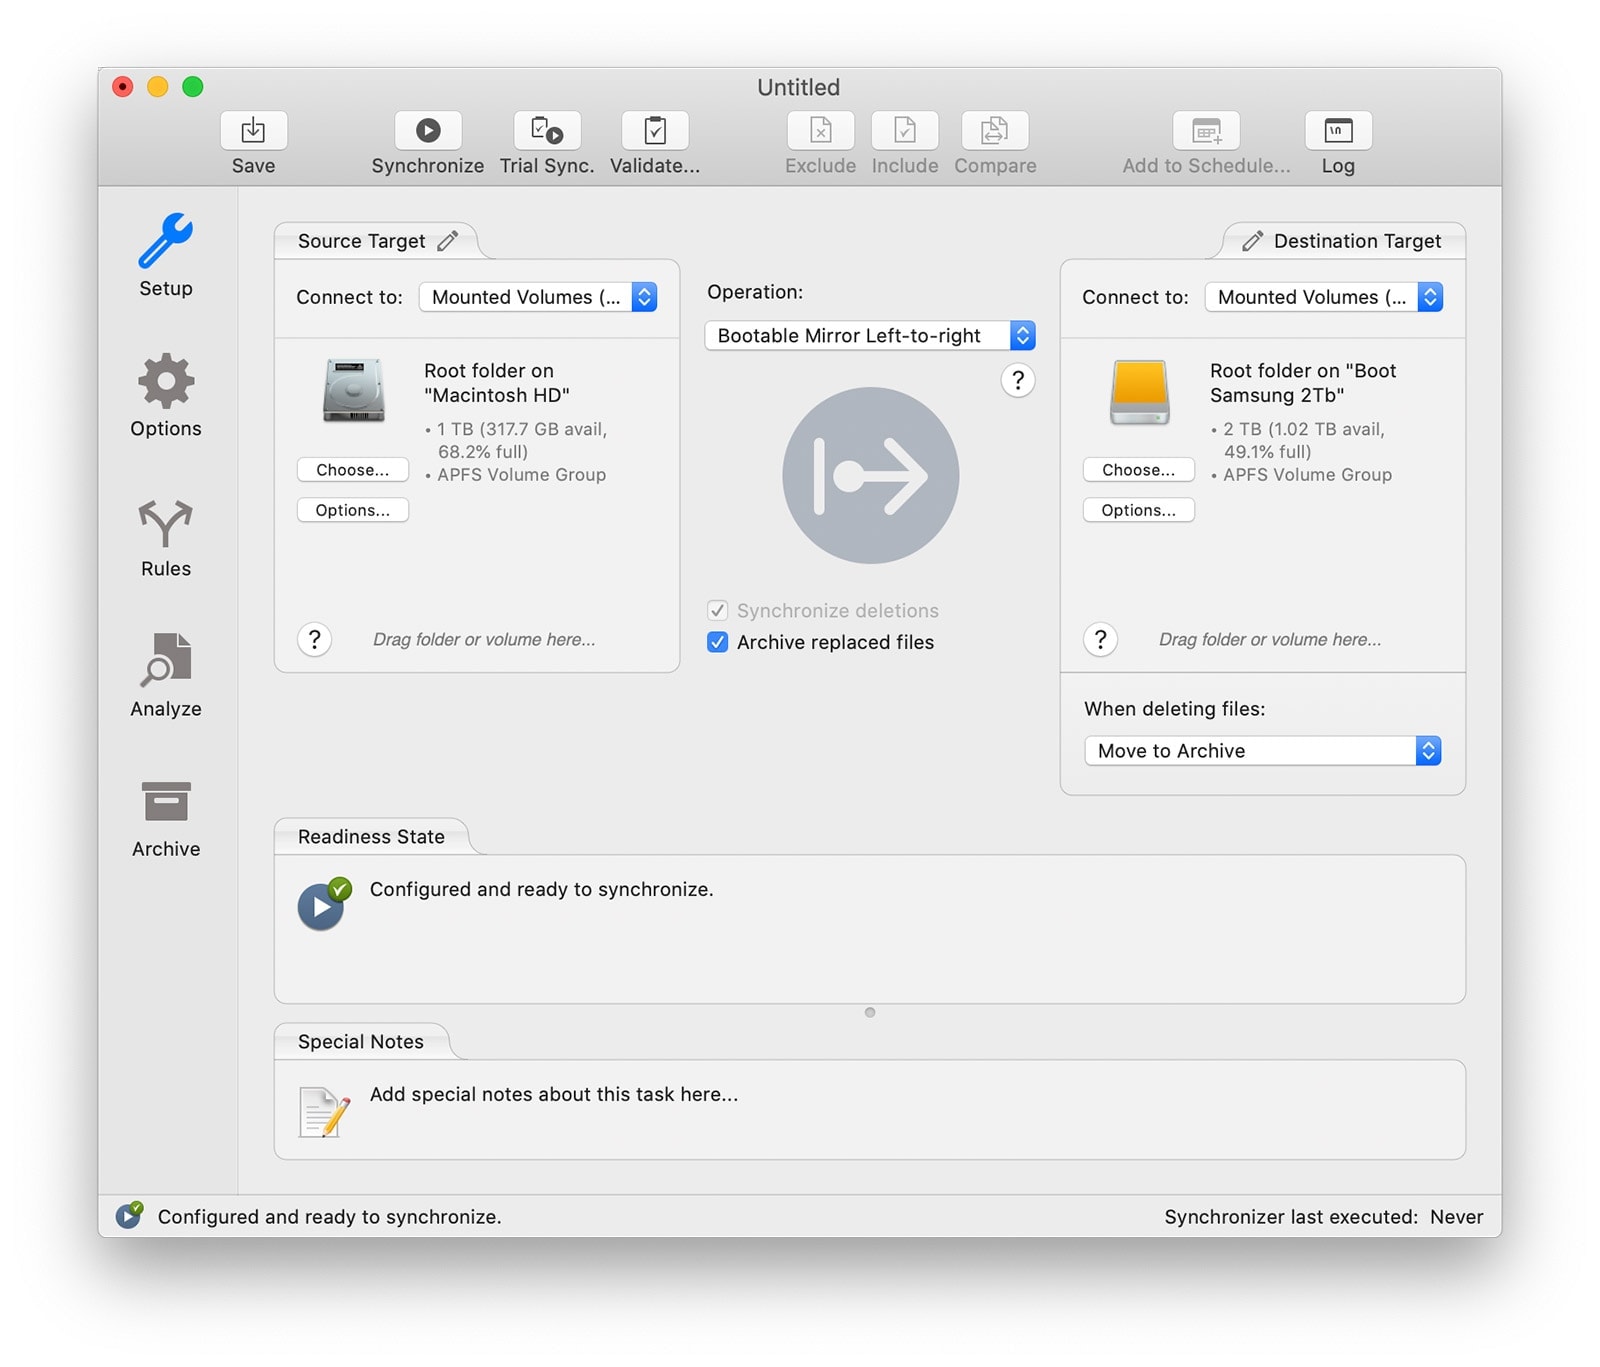
Simple – you can run the synchronise again. However, this time change the centre drop-down menu to Mirror Left to Right. Because this time, we already have the images in the right hand folder, we’re just checking them and attempting to copy over any that we skipped. Hit Sync.
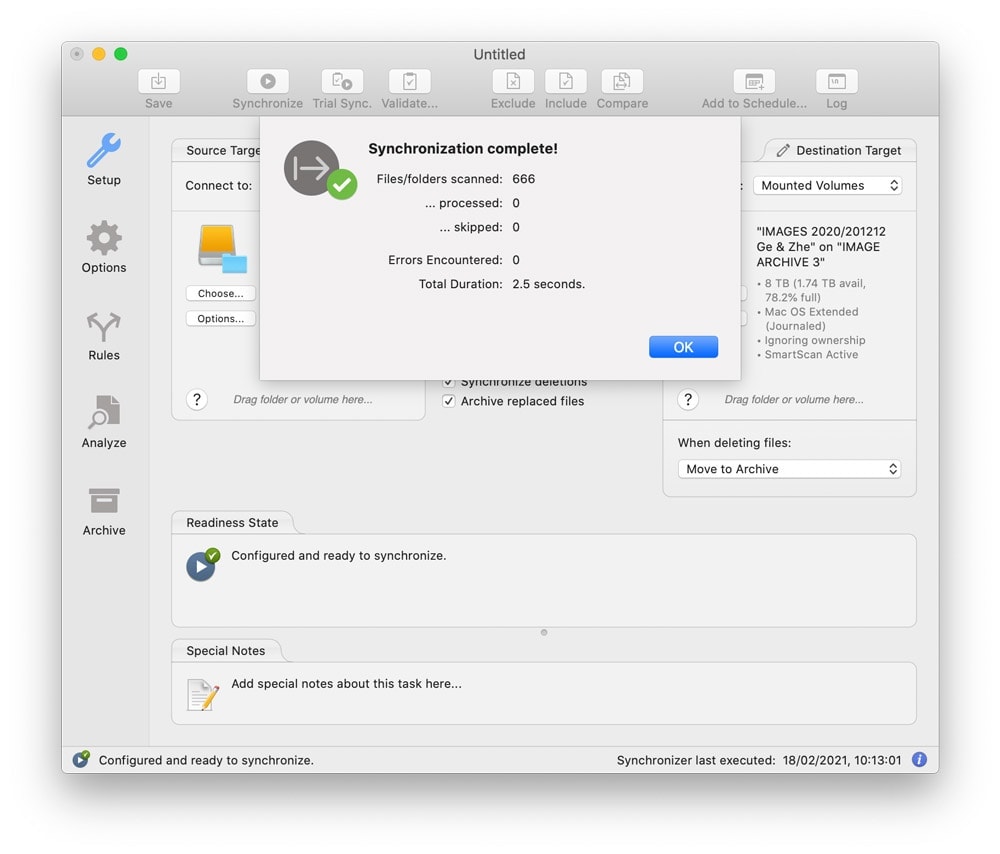
This process should be very fast. Chronosync over the years has constantly tweaked the program so that a re-sync is mega fast. It will scan the original folder, compare it to the destination folder and fix any errors. If successful, it will come up with a screen similar to below. With this one, it didn’t have to process any more images/files – they were all there already. There were none skipped and no errors. It took 2.5 seconds to do the whole folder. I can now happily delete the folder on the left, knowing that my right hand copy is a 100% perfect copy.
But before I ever delete a folder of images, I always check that I have at the very least two copies of those files. So, after copying to my Archive Drive, I then need to re-copy to my Drobo (my main backup drive).
Copying to a Drive that already has the images on it
So, my Drobo drive already has all of these images on it. Because I used this method to copy the original shoot from my working drive when I first downloaded the couples images. This was a short wedding, just 3 hours, so there were only 3,309 images. You can see those in the right hand folder. But the left hand folder contains the newly processed versions of the DNG’s and this is the final set of images, that I would have delivered. Including their final JPG’s inside the Client Versions folder. It also contains a copy of their Lightroom Catalogue, which I will store with their wedding, should I ever need to refer to it. I probably won’t, as I will also import that catalogue into my Master Catalogue, so will use that mostly, if I need to see their images.

Therefore, to copy the new images (changed images) from the left hand folder working drive, to the right hand folder, backup drive, I can use the Mirror Left to Right option, as I did above.
This will copy the files/images over – but when it finds an older file, it won’t delete it. Instead it puts it in the _Archived Items Folder. So the left and right folders will match perfectly, but the right hand folder will also have the older original versions, that were untouched by my processing. This is extremely useful and good practice. Again – you cannot have enough copies for backup purposes, just too few. After a few months, when the images have been with the clients for some time, I will eventually go into the Archived Items folder and simply delete all of those original copies. As I shouldn’t ever have to use them. But they may stay there six months or more, if my Drobo isn’t running out of room.

I hope you found this article useful. Do check out the other articles on this site and ask any questions you have in the comments field.


This is an excellent article. I have used Chronosync for years, and use it mostly to keep 2 disk enclosures in synch. I am now moving all my photography files from one enclosure to another, and used the command “Mirror L to R”. While it seems to be working, because I have several TB’s of files, it is still at 1% after 20 minutes. Should I have used the command “Backup L to R”? The current rate of transfer does seem quicker than using the Finder.
Thanks –
Dudley
Hi Dudley, glad you found the article of interest. Mirror L to R will do exactly the same thing as Backup L to R, if it’s the first time you’ve done the copy. So it doesn’t really matter which you use. It’s only relevant once you already have data on the 2nd drive, that you use the Mirror L to R option, so that it doesn’t overwrite any existing data. They will copy at the same speed. If you have many TB’s of data, yes it will take time to copy over. But you can leave it to run safely on its own. Then once finished, if there were any errors, run Mirror again and it will do a fast scan and only copy over any data those errors threw up – or it will spot them again and point to how you can fix them. I will often run Mirror again after its first run. As a double check.