Best ShortPixel Settings for Photographers
ShortPixel Settings for Photographers
First off. There are two versions of ShortPixel – SPIO and SPAI. This can be confusing at first.
SPIO – ShortPixel Image Optimiser – (recommended)
SPAI – ShortPixel Adaptive Images – (can break your website)
They work in two separate ways. Both are good, but my own personal preference is SPIO. The Short Pixel Image Optimiser plugin for WordPress. This is what I will be describing here.
Sign up using this link to ShortPixel – and you’ll get 100 more free credits
Before Uploading Your Images
My recommended settings for good full size images for a photographers website are as follows. I export direct from Lightroom. These are my settings. I often read on photographers forums about people recommending using JPGmini to downsize their images, before upload. Sorry folks, but I do not recommend this. JPGmini is a great little program for downsizing images, however, for website usage – it does nothing worthwhile. You’re just adding an unnecessary step to your workflow, that won’t give you smaller images. The following method will.
Proof that my system works? Well, you can always run my site through Google Lighthouse using incognito mode and see if you see any warnings saying the images are too big.
If you’d like to read more about JPGmini and why I don’t use it. Check out this article I wrote on the subject after testing various upload methods. Image Size for Blog Posts. To summarise, I export at 2000px on the long edge, 70 quality, Sharpening Screen High. I find this to give pin sharp images even up to very large sizes on a 5k iMac screen, with zero degradation. But at the same time, the images are small enough to please all the speed testing software out there.

Recommended Settings for SPIO – Best ShortPixel Settings
Over the course of the last year, these are the best ShortPixel settings I’ve found, that work for me as a professional photographer. Zero loss of quality, but great compression and speed.
1/ Make sure you choose GLOSSY as the compression type. I’ve tested this myself and you will see no degradation in quality of your images using this setting. I’m a professional photographer and I’m very particular about the quality of the images I use on my main website – Hampshire Wedding Photographer – Tansley Photography. All the full size images on that site use the following settings. I would not settle fo anything that degraded that quality.

Other important settings.
1/ Apply compression to image thumbnails. Tick this. Why would you not want to compress all the thumbnails too. BTW a thumbnail image is any image that is a smaller version of the original. It’s not just the postage stamp sized one. So in a standard WordPress setup, when you upload an image, WordPress will create three thumbnail versions. 1600×1067, 979×653 and 430×287 pixels. These are all considered “Thumbnails” when talking website images.
2/ Image Backup. Don’t tick this. There is no point imo. One would presume you are not going to delete the original images from your computer. So why would you need another backup version on the website server? All this does is create a folder on your server, where it stores another copy of all the images you upload – but unprocessed. That’s a hell of a lot of extra storage on your server for something you will never need. If you do need to re-upload an image. You have the originals all on your computer. All backed up properly anyway. Want to learn about backing up your images? See my Photographers Guide to Backup.
3/ Remove EXIF – I leave this unticked for SEO reasons. Sign up to my website speed course if you’d like to learn more.

Advanced Tab
1/ PNG files are normally far larger than JPG files. But I leave this convert option unticked (I want to be in charge of which images I convert – not the plugin). I make sure I do any conversions from PNG to JPG before I upload and I only use PNG for small images like Logos or Badges. PNG can give a sharper edge – and allow transparency, which is why it’s good for badges and logos.
2/ CMYK to RGB – leave ticked. I don’t use CMYK images anyway. But just in case one got uploaded, this would correct it.
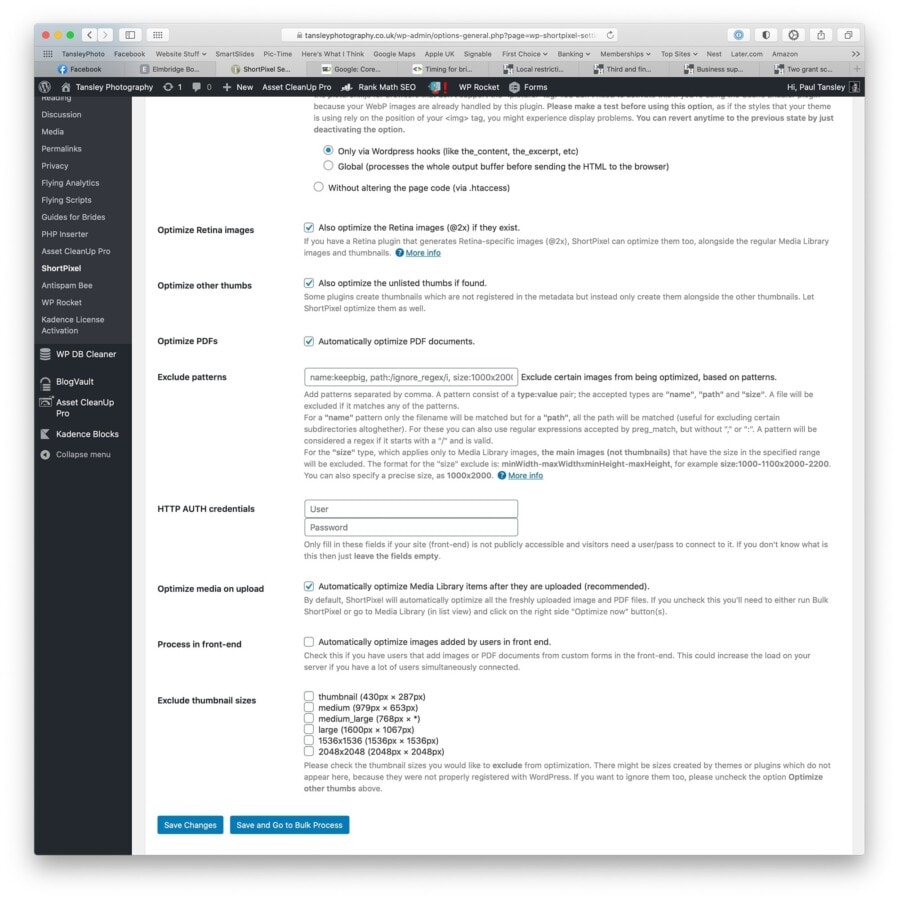
3/ WebP Images. I was never a fan of WebP. For years I avoided it. Mainly because if you compare a WebP image with a JPG, the JPG is often smaller in size. However, Google loves WebP. So when you speed test your website, it will always be telling you to use WebP images. These never worked well with the ProPhoto theme. But in November last year, I moved Theme to Kadence. Now WebP works as its meant to. And they give a far faster load speed in speed tests, so I have now ticked this box. Also tick the box to deliver them in the front end.
You can check if the webP’s are being delivered on your site, by looking in the html in Chrome Inspect. Do a search for <picture – and it should show you the picture tag next to all your images.
Another tip – if some of your images refuse to load as webP – I had this issue with my logo. The try choosing the Global Option, instead of Only via WordPress in the Deliver as webP section. Shortpixel support suggested it to me and it worked perfectly. I can’t see any downsides to that option.

4/ Optimise Retina Images – leave ticked.
5/ Optimise Other Thumbs – leave ticked.
6/ Optimise PDF’s – leave ticked.
7/ Optimise Media on Upload – definitely tick this. I want the Optimisations to happen automatically, I don’t want to have to think about it. I bought a ton of credits when I first started using ShortPixel (you will need to buy some credits). So I used to buy about £20 worth at a time for about 30,000 images or something like that. But at the end of last year, I managed to sign up to a lifetime deal that was on offer for a one off price for life. So I now have a lovely amount of images I can upload each month without ever hitting the limit.
Media Library View
In the Media Library, using Column View, you can now see how much ShortPixel has compressed your images. If you click on Edit Image, you can also see further information. From there you can compare the File Size show, to the File Size of the original file on your desktop.
SPECIAL NOTE – NGINX servers
Read This info from ShortPixel if you are using an NGINX server – as the above solution needs special tweaks to make it work
Learn more about the optimum image sizes for photographers blog posts.

I hope you’ve found this guide useful. Do leave a comment below. I will be posting regular info on workflow solutions for photographers. If you’ve not read it before, the link below is an old one I created a few years ago, but still very valid even today.



Hi Paul, this article is hugely helpful – thank you! I have built a site for a photographer and am having trouble with image size vs quality. I just wanted to ask if you use an image CDN or if you find these optimisations through shortpixel work well enough. Many thanks!
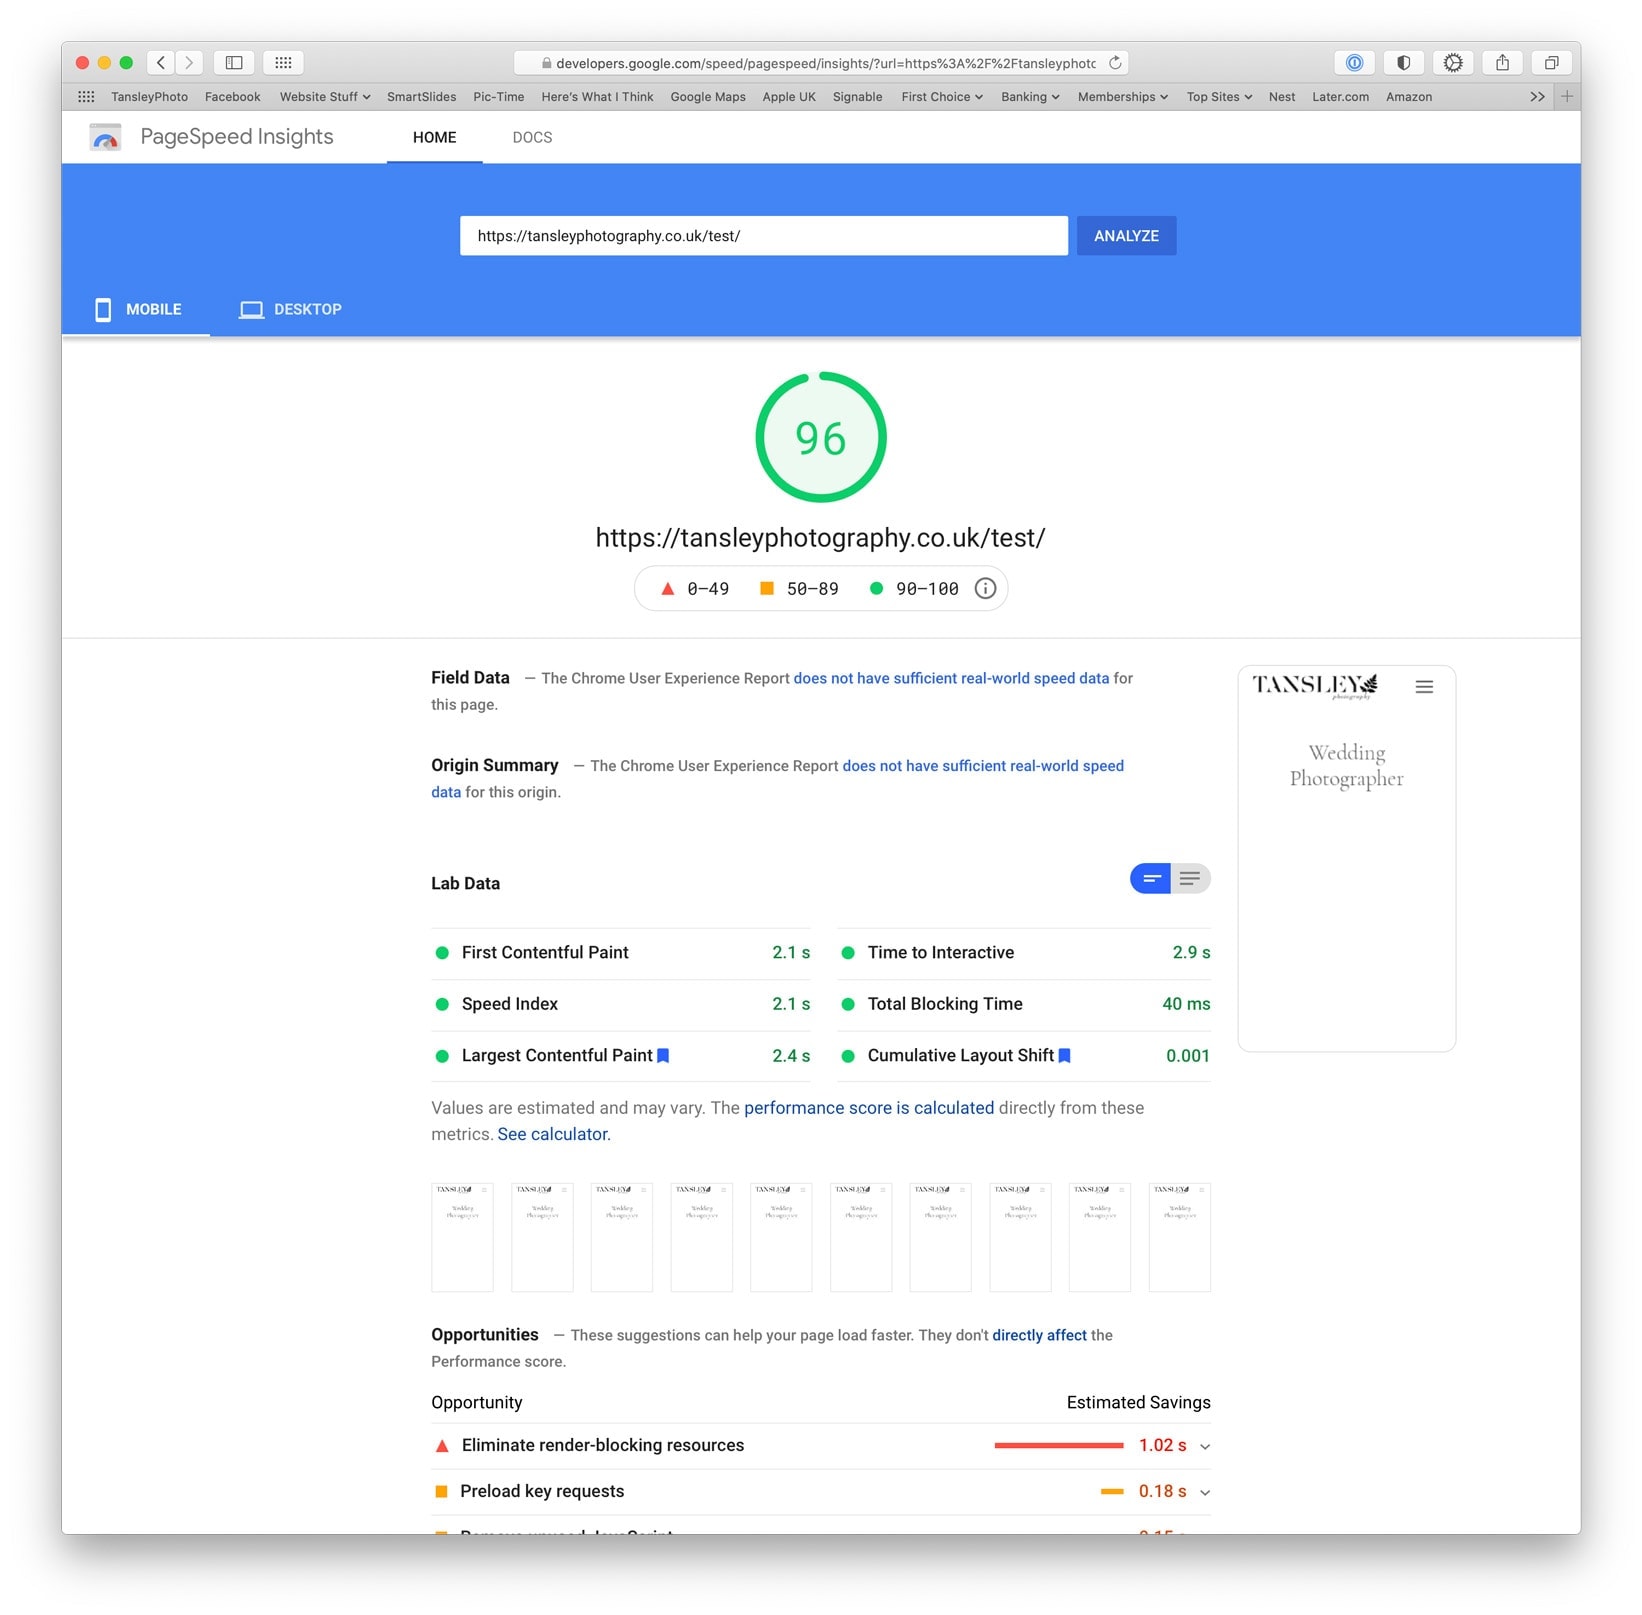
Glad you found it useful. I don’t use an image CDN. ShortPixel Adaptive Images, their other plugin uses that method. But personally I found that didn’t play well with a lot of themes. I also found I just preferred having a fast server and delivering everything from my own server works better. My photo site has a mobile PSI score of 99 and the LCP is under 2.5 seconds for mobile. So can’t see any point in being faster. From my experience of CDN’s you only really need them if you have a slow server.